One of the most captivating ways to elevate your cake decorating skills is by incorporating edible flowers into your designs. Edible flowers not only add a touch of natural beauty to your creations but also showcase your artistry and attention to detail. In this blog post, we’ll delve into the art of creating realistic edible flowers that will make your baked goods truly stand out.
1. The Beauty of Edible Flowers: A Feast for the Eyes and Palate
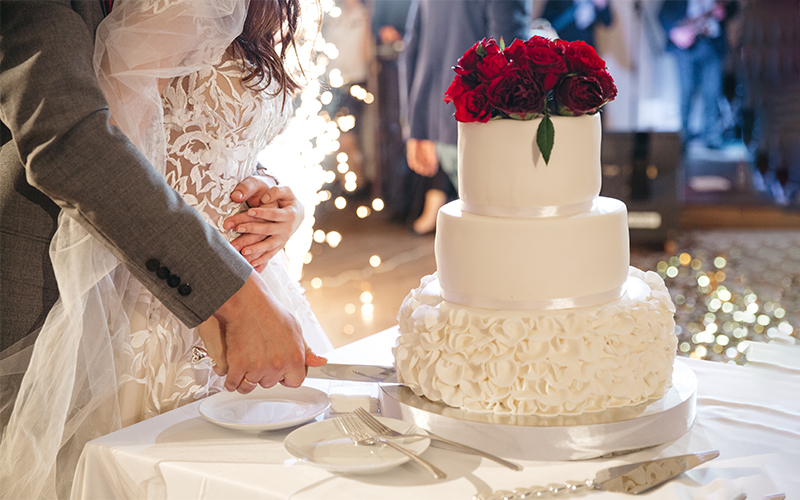
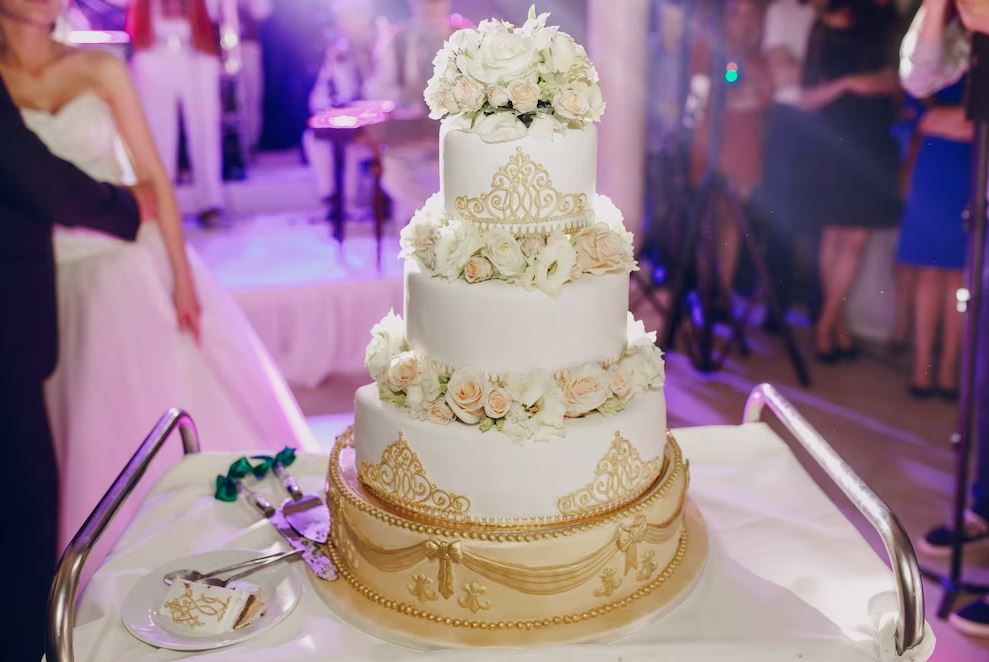
Edible flowers have been used for centuries to adorn dishes and add flavor to culinary creations. Incorporating them into your cake designs allows you to bring the beauty of nature to the dessert table. From delicate rose petals to vibrant pansies, the possibilities are as diverse as the floral kingdom itself.
2. Choosing the Right Flowers
A. Edible Flower Varieties: Before you start crafting, familiarize yourself with edible flower varieties. Some popular choices include roses, violets, lavender, pansies, nasturtiums, and calendula. Ensure that the flowers you select are safe for consumption and have not been treated with pesticides.
B. Flavor and Aroma: Different flowers bring unique flavors and aromas to your creations. Roses offer a subtle sweetness, while lavender imparts a fragrant, herbal note. Consider how the flower’s taste will complement your cake’s overall flavor profile.
3. Materials and Tools
A. Edible Flower Paste: Create a pliable and lifelike medium for crafting edible flowers by using flower paste or gum paste. These materials can be molded, shaped, and dried to retain their form.
B. Flower Cutters and Veiners: These specialized tools help you cut and emboss flower petals, mimicking the natural contours and textures.
C. Edible Colors: Use edible food colors or petal dusts to add depth and realism to your flowers. A variety of shades will allow you to achieve intricate details and shading.
4. Crafting Realistic Flowers: Step-by-Step
A. Preparation: Knead your flower paste until pliable. Roll it out to the desired thickness using a rolling pin dusted with cornstarch to prevent sticking.
B. Cutting and Shaping: Use flower cutters to cut out petals of various sizes. Gently press each petal between a foam pad and ball tool to thin and shape them, creating lifelike curves.
C. Veining: If using veiners, press the petals gently into the veiners to emboss them with realistic textures.
D. Assembling: Assemble the petals one by one, securing them with a small dab of water or edible glue. Start with the inner petals and work outward to create a natural progression.
E. Drying: Allow the assembled flower to dry in a cool, dry place or on a foam pad shaped to mimic the flower’s natural form.
5. Adding the Finishing Touches
A. Coloring: Use a soft brush to apply petal dust or edible color to achieve subtle shading and highlights.
B. Center Details: Add the flower’s center, whether it’s a dusted pistil or a cluster of edible seeds, using edible glue.
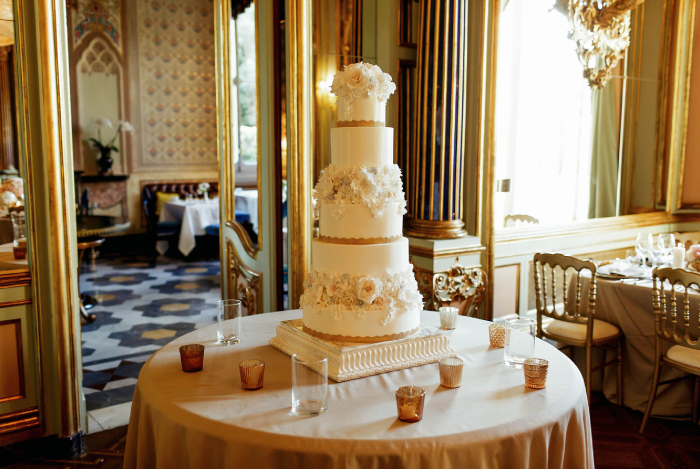
C. Arrangement: Once your flowers are fully dried and colored, arrange them on your cake with delicate finesse, enhancing the overall aesthetic.
Conclusion
Creating realistic edible flowers is an art that allows you to merge nature and creativity into delectable masterpieces. These delicate floral accents elevate your cakes, turning them into edible works of art that are sure to leave a lasting impression. With the right techniques, materials, and a touch of patience, you can create a bouquet of edible blooms that not only capture the eye but also captivate the taste buds of those fortunate enough to enjoy your creations.